


Have you made a crazy react web app and want others to use it, then host it on the internet and let people make use of your website? This article will use Netlify, a cloud computing company that offers hosting and serverless backend services for web applications and static websites.
In this article, you will know the steps to host your website for free on Netlify, with your custom domain name. You might get some errors while hosting your site, but in this article, you can identify those errors and make your hosting process smooth.
Step 1: Let's make the react app production ready
Production build will create a build directory of your app which we will use while hosting your site. Follow the below steps to add the build folder using NPM: Cd into your project folder and write
npm run build
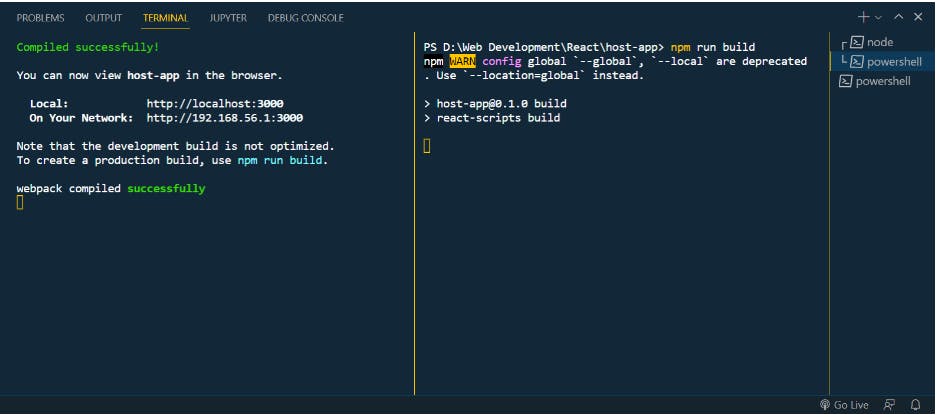
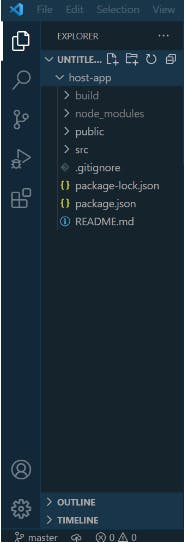
Now you can see a build folder is created and added to your file explorer
Our project is now ready to get hosted on Netlify, jump on the site: https://www.netlify.com/
Step 2: Hosting on Netlify
Sign Up if it is your first time visiting this site or login and carry on

After logging in you will see this screen
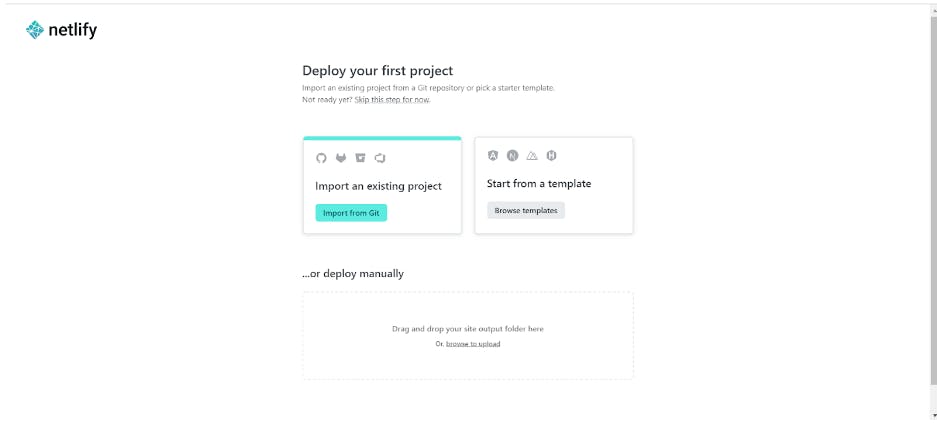
Click on the "Import from Git" button, which will take you to this page
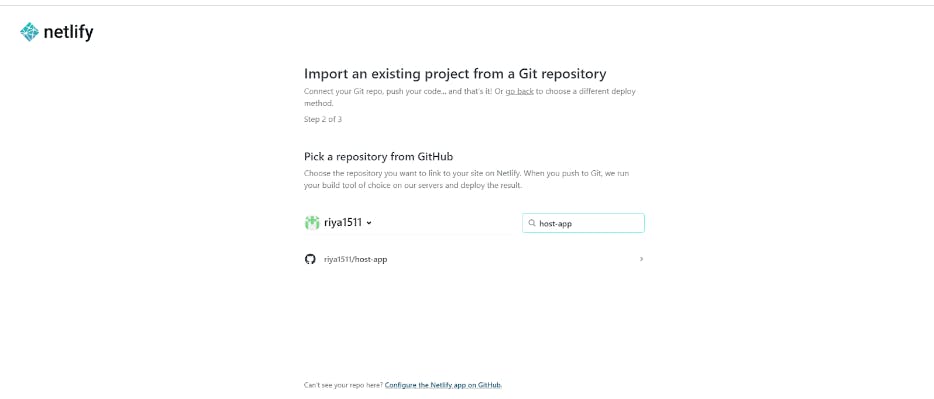
Search your project repo in the search bar and select it
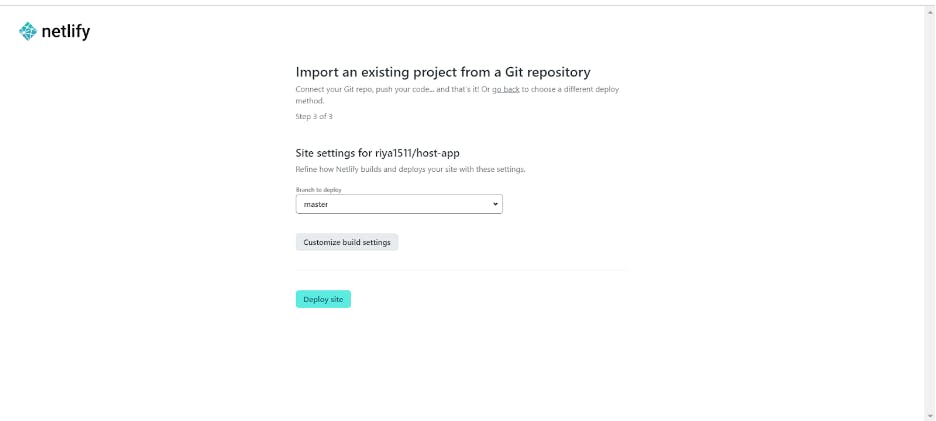
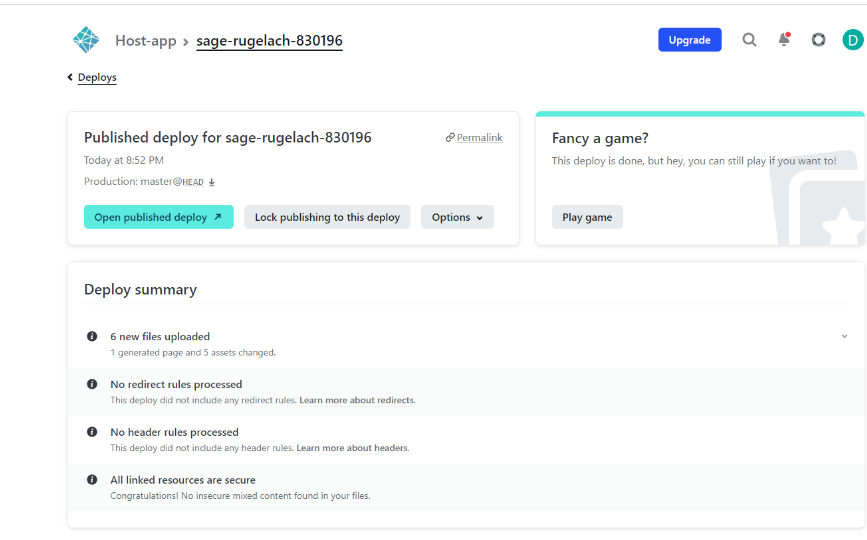
If you see this page then click on the "Deploy Site" and Netlify will accordingly start the deployment
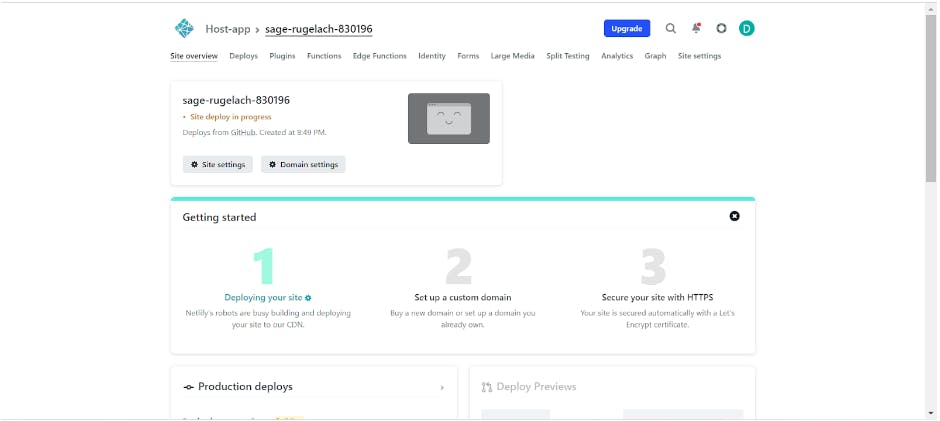
If you are getting the following page then congratulations your project is hosted 🥳, scroll to the last section to know how to change your domain name for free

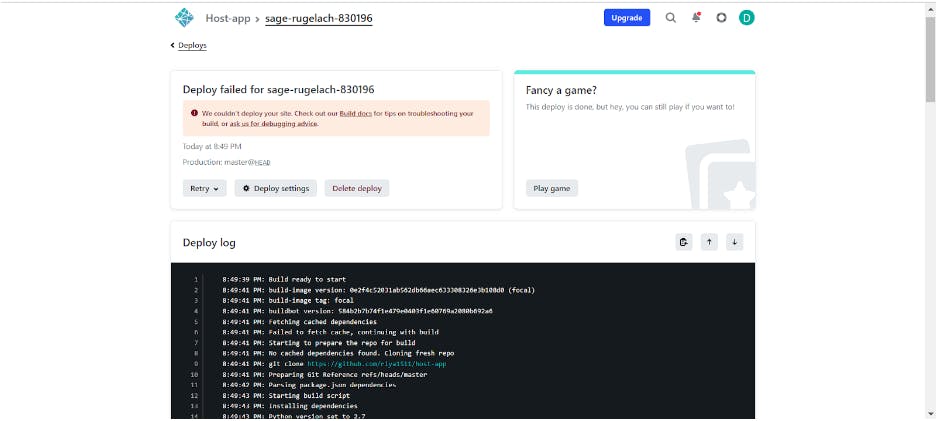
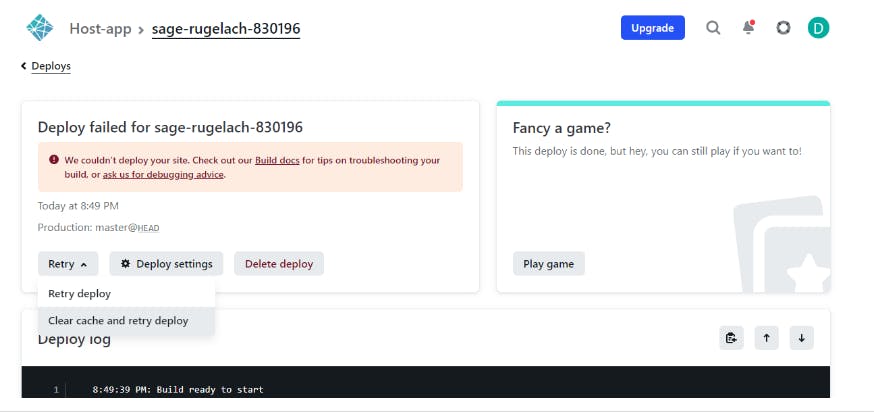
But if you are seeing the following error, don't worry I got you, jump to the next section to know how to solve it.
Step 3: Solving the build error
If you are seeing the error Then click on the "Deploy Setting" and then find "Build and Deploy" from the left tab
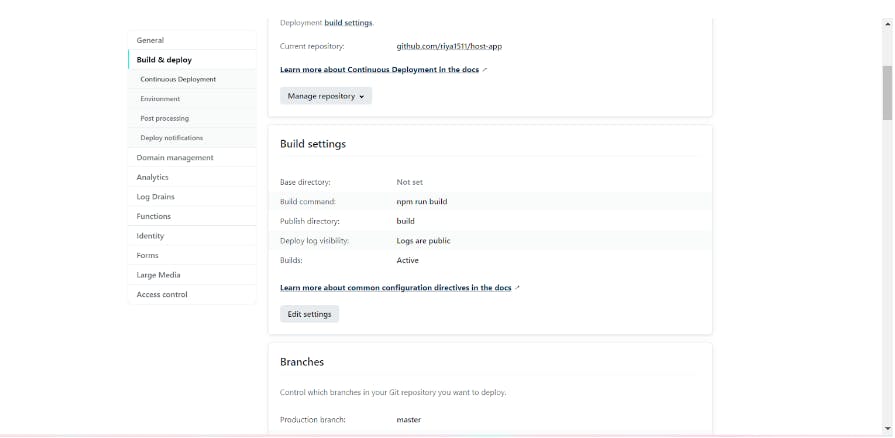
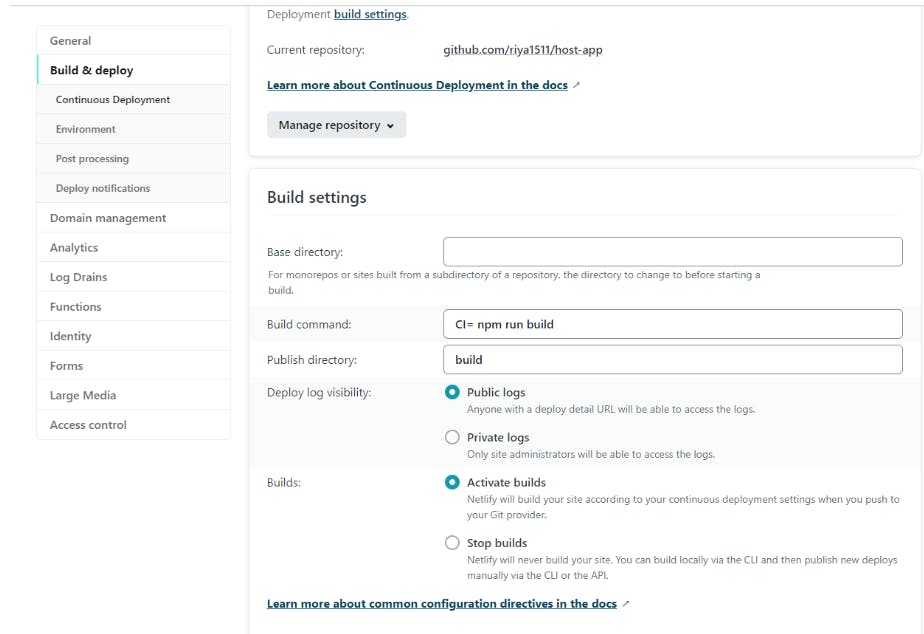
Click on the "Edit Setting" button under the "Build Setting" heading and change the BUILD COMMAND from "npm run build" to
CI= npm run build
Now go back to the error message page and select "Clear cache and retry deploy" under the retry dropdown You will now see that your project has been deployed
Step 4: Add your domain name
Go to the setting page and select "Domain Management" from the left tab
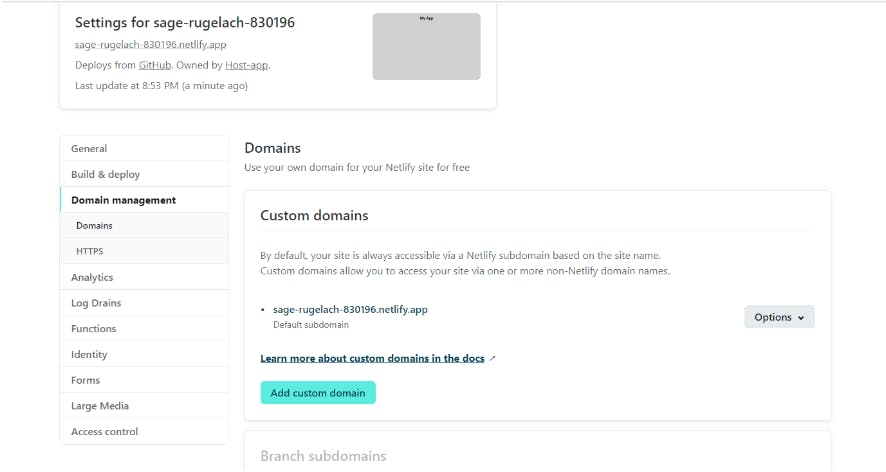
Select "Edit" from the options dropdown under the "Custom domains" heading
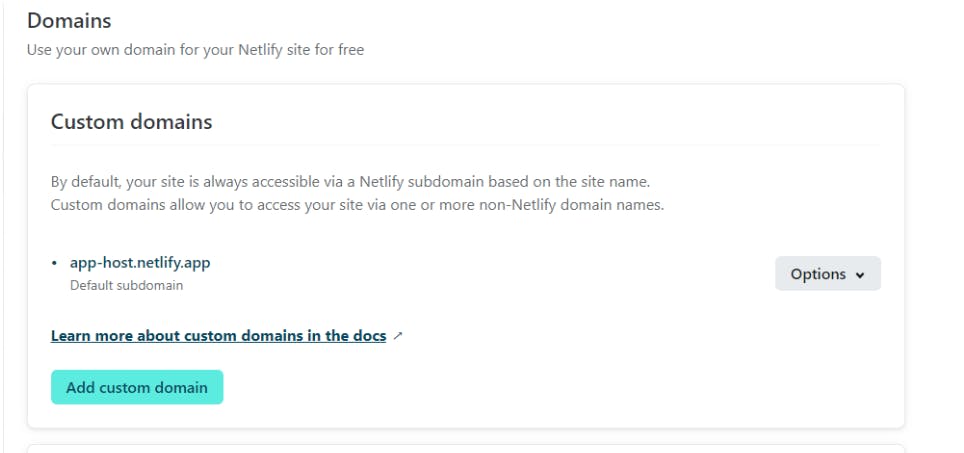
Type your domain and Hurray you have hosted your site for free on Netlify.
PS: This is my first ever Tech Blog, all your suggestions and feedback are mentioned.
If you enjoyed this article or found it helpful, let's connect. You can find me on Twitter and Hashnode sharing thoughts, tips, and coding journey.